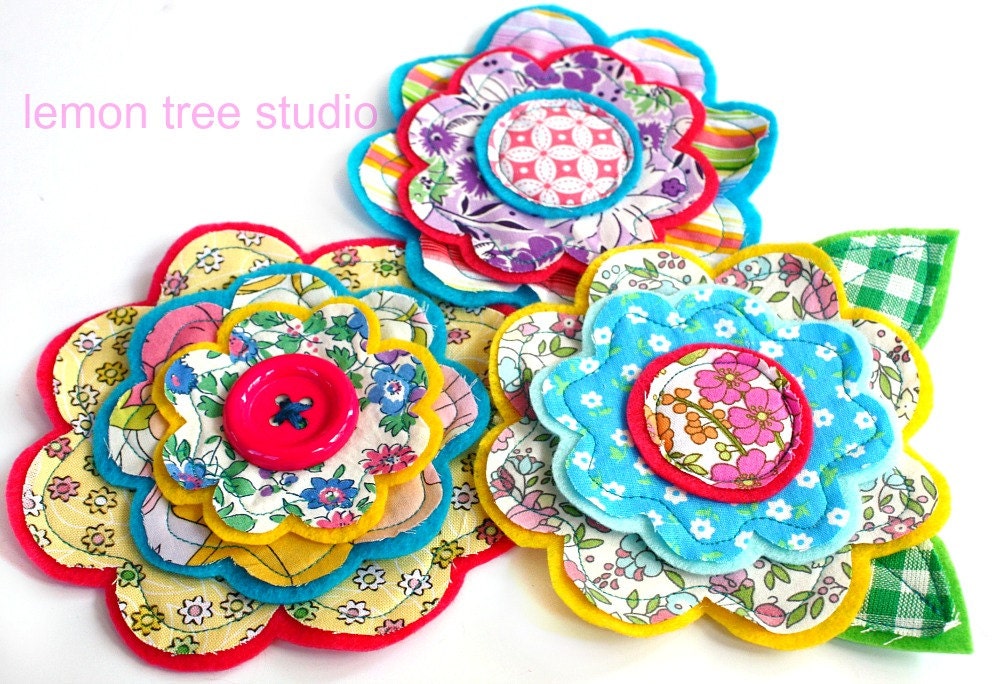
Okay, here's another project I made for my twin's Valentine's Day Open House. I first saw these 6" fabric & felt flowers on my nieces' bedroom door when I went overseas to visit back in the Spring of 2012. My twin had gotten hers from an Etsy seller called
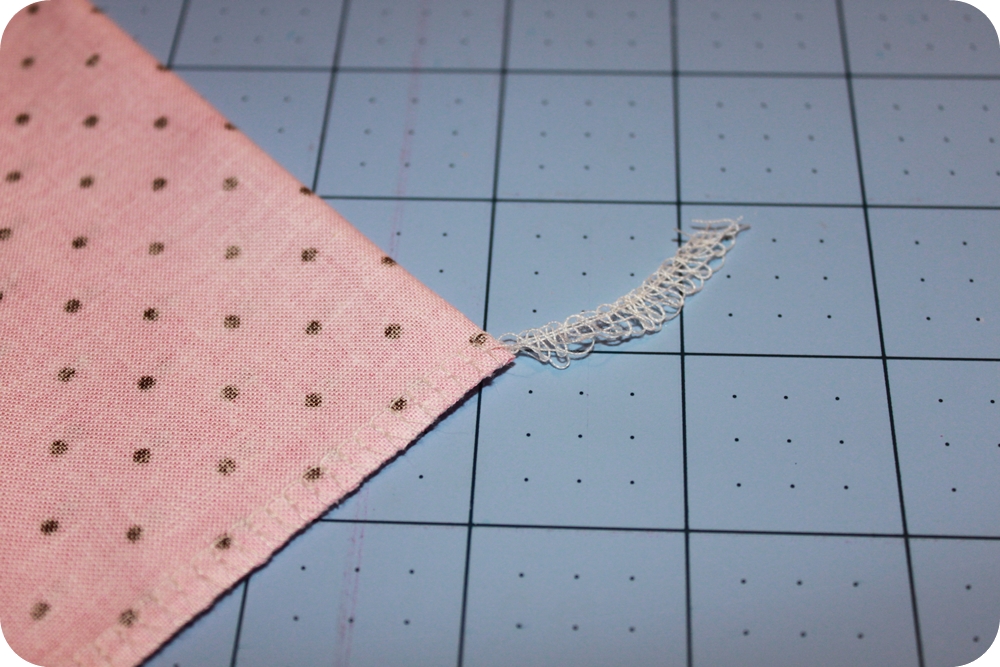
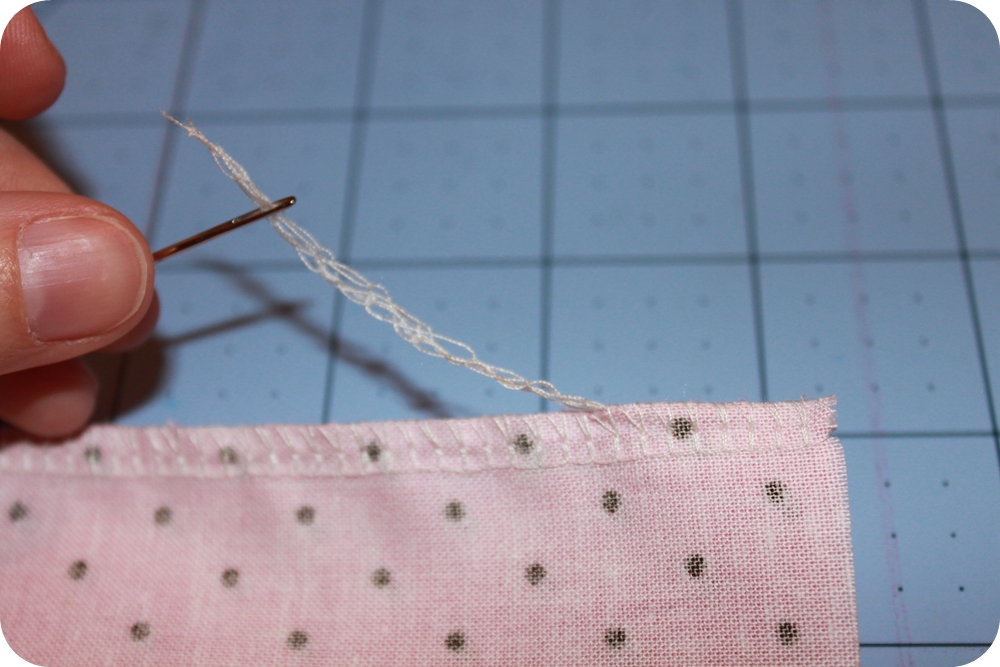
Lemon Tree Studio. Well, my twin wanted me to make some and I gave them my own twist. I can see that Lemon Tree Studio sews the fabric to the felt for each layer but it looks like there is no Heat N Bond type of iron on adhesive used. For time sake because I have almost 10 projects to get done in 3 weeks time, I didn't sew the layers together. Instead I used Heat N Bond which I knew would also help with fraying.
Here's some flowers from Lemon Tree Studio:
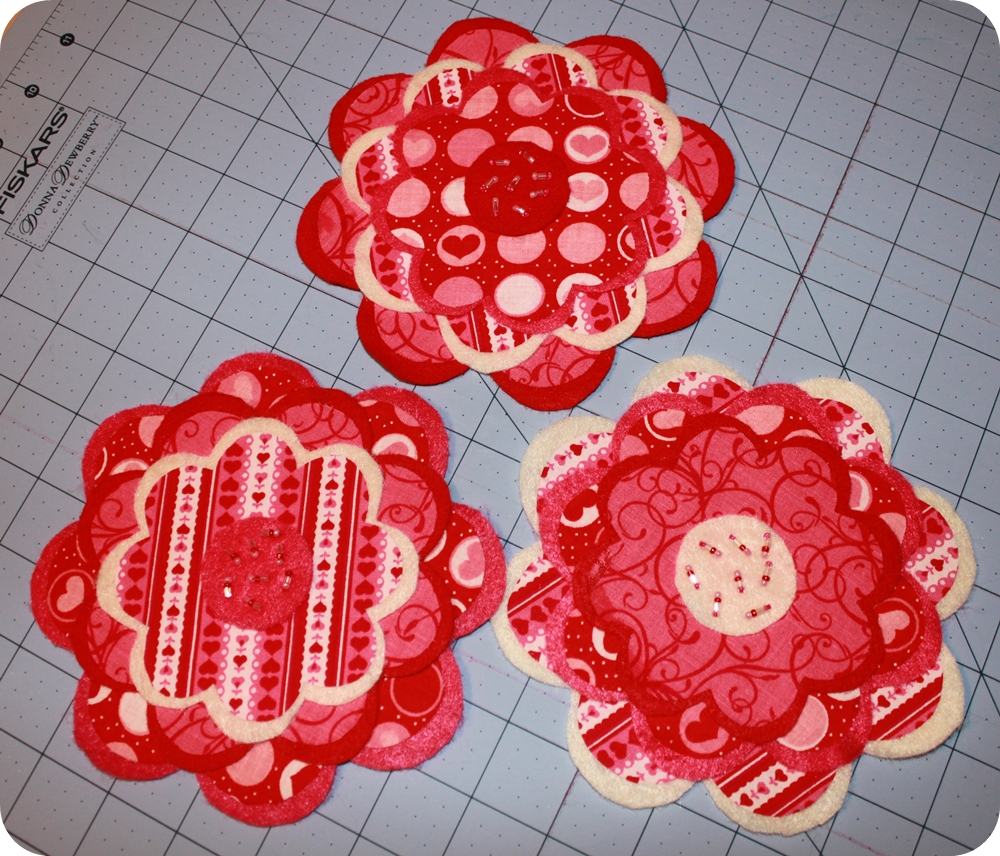
HERE ARE MY 6" FLOWERS:
IF I HAD MORE TIME AND HAD BOUGHT CENTER EMBELLISHMENTS, I WOULD HAVE DONE THAT INSTEAD OF THE SEED BEADS BUT I ALREADY HAD THE BEADS.
NOW ONTO MY TUTORIAL.
These instructions are according to how I made mine. Feel free to create your own style.
WHAT YOU WILL NEED:
Fabric & coordinating felt
Heat N Bond Lite iron on adhesive with paper back (or other brand)
Beading Needles
Matching thread (I used my sewing machine thread)
Seed Beads for Centers of flowers
1-2 sheets Template Plastic (found in the quilting notions section)
Fine Permanent Marker (for marking template shapes on plastic)
Mark B Gone (or other water erasable marker)
Craft Glue (I used Tacky Glue Quick Dry formula but you can use anything really)
Thread Nippers or Embroidery Scissors
I HAD TO CHANGE IT TO PUBLIC SHARING, FOR SOME REASON IT WAS LOCKED BEFORE.
1. Print the template pages from above
2. Trace them onto the template plastic using a fine permanent marker, then label each template as I have done below so you don't get pieces confused:
3. I personally worked on 1 set at a time so not to confuse my coordinated sets with other sets. If you are going to be making a set of 3, then you will trace each size shape onto each fabric. But first determine how much fabric will hold all 3 flowers. Cut that piece out and iron onto the Heat N Bond, per directions.
4. Next, trace each flower size onto the paper side of the Heat N Bond with a pen. If you are going to be using a fabric center, trace that circle as well. Cut out the pieces then set aside.
5. Grab your coordinating felt & your Mark B Gone marker. You are going to need the 4", 5" & 6" felt shape templates for each flower. Start tracing, cut out and set aside.
MY CUT OUT PIECES ALL STACKED UP ACCORDING TO SETS & READY TO BE ASSEMBLED
6. Now play around with your pieces by layering the felt and fabric for each flower to get the look you want. When you have figured that out, unlayer the pieces but keep them grouped together so you don't confuse them with other cut out pieces. In whichever order you like, peel the paper off the back of the fabric and lay the fabric on the matching sized felt layer with the pretty fabric side facing up. Then Iron per directions of the Heat N Bond. Continue with the other 2 layers.
7. Now time to start gluing!
8. I found it best to dot around each petal instead of dragging the glue tip because of the fibers of the felt being "stringy". Then I dotted all on the center as well.
9. Place the 5" flower onto the 6" flower by slightly turning the flower so that the petals don't line up as shown below. I then pressed the middle 5" layer onto the 6" layer. Press really well with your hands all over including the petals.
10. When you have all 3 layers glued, time to move on beading the centers. I used like 24" of thread at a time since I had so many Valentine's colored fabrics. That way I could get like 2-3 flowers done without re-threading. Double the thread, tie a knot and insert the needle into the felt center starting anywhere you like. You don't even need to cut off the excess thread because it's going to be hidden when glued down.
11. I started with 2 beads per stitch then got fancier with my color
combinations as I made more flowers. When you have the needle all the
way through the felt circle, start adding beads.
IF YOU LIKE THE LOOK OF JUST 1 BEAD PER STITCH, GO FOR IT!
FOR THIS FLOWER, I DID 2 BEADS PER STITCH.
THIS IS HOW I LIKE TO SET UP MY BEADS, USING THE LIDS FROM DELI CONTAINERS. THEY ARE SHALLOW................................
.......................AND STACK QUITE WELL!
12. When you have however many beads you want for that stitch, hold the beads down with your thumb or hold them back with your fingernail. Insert the needle back into the felt right where the bead ends, as shown below.
13. Now continue beading by inserting the needle anywhere you want or by just poking, as shown below. DON'T PULL THREAD TIGHT!
14. When you have enough beads to your liking, take a couple of stitches on the back in the same spot and knot them. Clip the thread,
THE BACK WILL LOOK LIKE A RAT'S NEST BUT WHO CARES!
15. Dab glue onto the back of the circle and add to your assembled flower. Now let dry.
THESE FLOWERS WOULD BE REALLY CUTE IN A MUCH LARGER SIZE & PUT ON THE WALL!
MY FINISHED FLOWERS, BY SETS. SOME SPOTS ARE WET BECAUSE I HAD JUST DABBED WATER TO REMOVE THE MARK B GONE. THE FLOWERS LOOK SO MUCH BETTER IN PERSON!
FABRIC FOR THE SWIRLY FLOWERS IS FROM ME & MY SISTER DESIGNS FAVORITES COLLECTION.
MY TWIN MAY DECIDE TO MIX & MATCH THE SETS, AS I DID ABOVE JUST TO SEE WHAT THEY WOULD LOOK LIKE.
THIS ONE I'M CALLING "CHOCOLATE SHERBERT" BECAUSE IT HAS CHOCOLATE BROWN AND SHERBERT COLORS.
I HOPE YOU ENJOYED THIS TUTORIAL. IF YOU HAVE ANY QUESTIONS, PLEASE LEAVE ME A COMMENT BELOW.


