Pages

Showing posts with label Minky Wash Cloths. Show all posts

Sunday, January 20, 2013

Serged Minky Washcloths + Perfect Serger Settings for Serging Minky

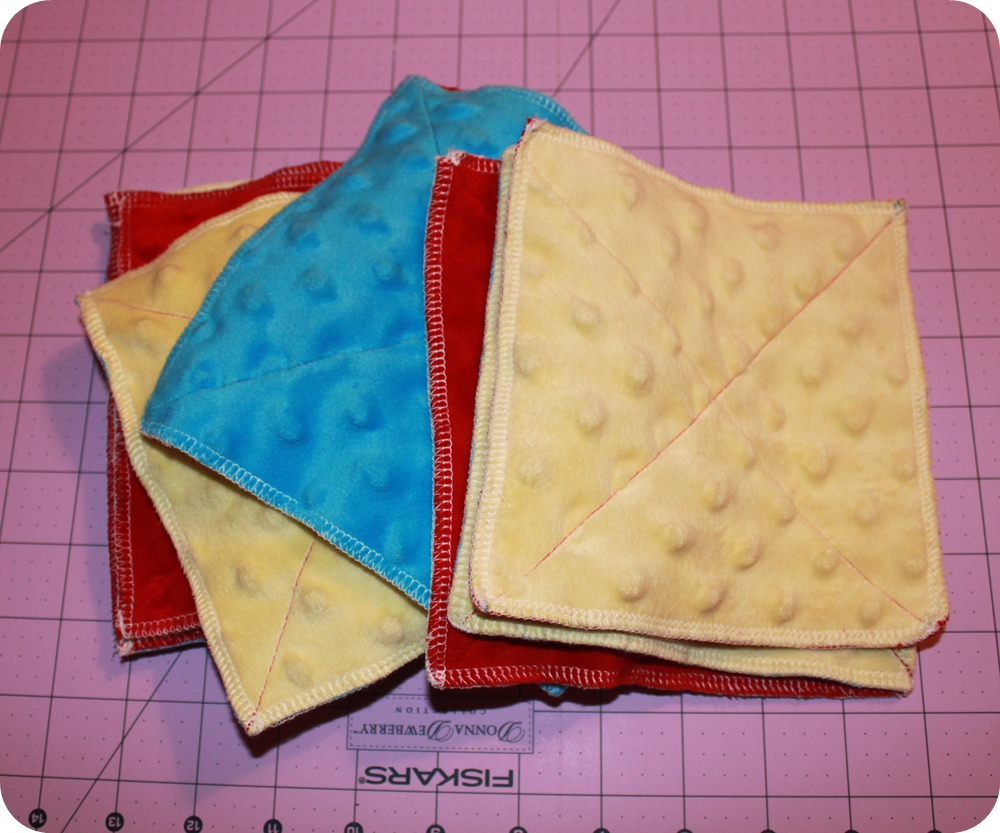
My twin asked me to make some minky washcloths for her friend that is having their first child.  In the past I made several of these for my twin to use on my nephew and nieces.  They love them.  The kids use them for every bath and in the morning to wet wipe their faces.  The ones I made in the past were not made with a serger.  I did sew an "X" across the middle but zigzagged the edges then trimmed.  Using my serger to make these was so easy and made them look so much better.

 Being that the baby is a boy, I decided to go with bright primary colors.  The circle minky on the right were scraps from my nephew's minky blanket, therefore they are smaller.  The larger ones are right at 6" square.  Smaller ones are like 5".

FOR FINISHING OFF THE SERGER ENDS, SEE MY TUTORIAL HERE.

I must admit that I did have a little trouble at the beginning when I was practicing with some minky scraps.  I couldn't find anything online talking about the perfect serger settings for minky fabric.  So here I am sharing a sewing tip with you!  Granted my machine is a Brother 1034D but I think these settings would be pretty universal within a smidget or so.

 NOTICE WHERE THE NOTCHES LINE UP NEXT TO THE NUMBERS.  ZOOM IN IF YOU NEED TO.

I HOPE THIS HAS HELPED!


Monday, March 28, 2011

Soft on the Skin

Well, I have several medium sized minky scraps just lying around, so I decided to make some more washcloths.  I personally use one.  They are not really meant for exfoliating, but they are soft & gentle on the skin.  I love washing my face with one in-between my exfoliating days.  Would be great in a relaxing bubble bath alone or with a partner.  I also think they would be good for rubbing on the skin during a massage.

I made several of 2 different kinds.  The first ones are sewn right sides together, pinned in all 4 corners and on each side, turned inside out, then sewn around the edges using my 1/4 inch foot.  The 2nd kind are wrong sides put together, pinned in all 4 corners and each side, since I don't have a Serger I zig zagged around the edges using my 1/4 inch foot, then 1/8 inch trimmed from the edges with a rotary cutter to make all edges even for both fabrics.  They are about 6 inches square.  The pink one at the very bottom is for a small girl and it's about 5 inches square.  I also made some of the 2nd kind in 4 inch square for a 1 year old baby boy.  I made several of each kind, enough to last a couple of weeks or so.

The 2nd style have been straight stitch quilted with an X pattern.  The little flip on the 2nd style shows the color for the other side.

Let me know which style you like better.  I personally feel that the 2nd ones are easier to make.


Related Posts Plugin for WordPress, Blogger...